Blog
A space to share photos, stories, and moments along the way.
-
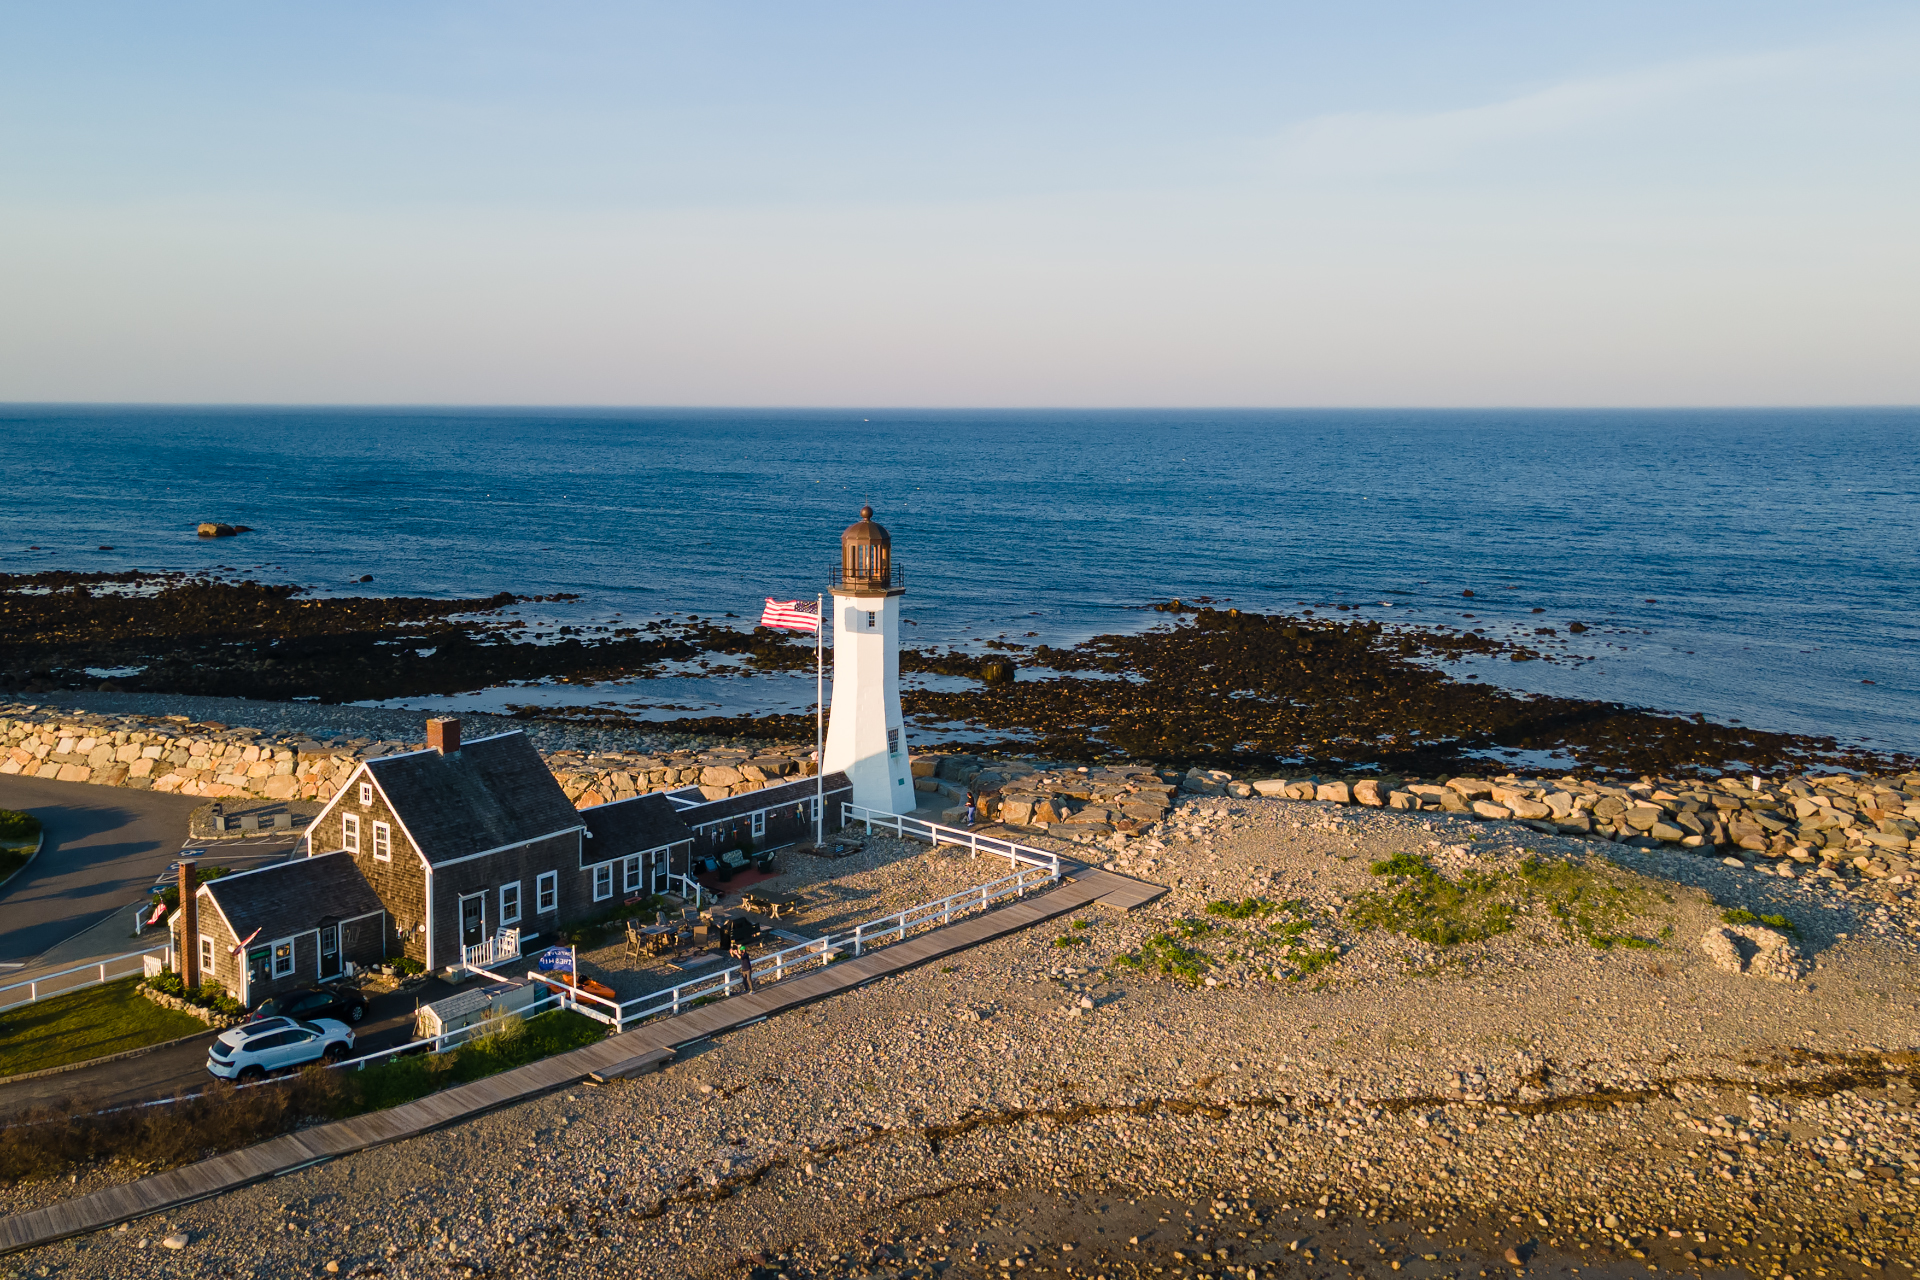
A recent afternoon drive along the South Shore, with stops at Conservation Park, Scituate Harbor, Egypt Beach, Minot Beach, and Cohasset Harbor. The weather could… Read mor
-
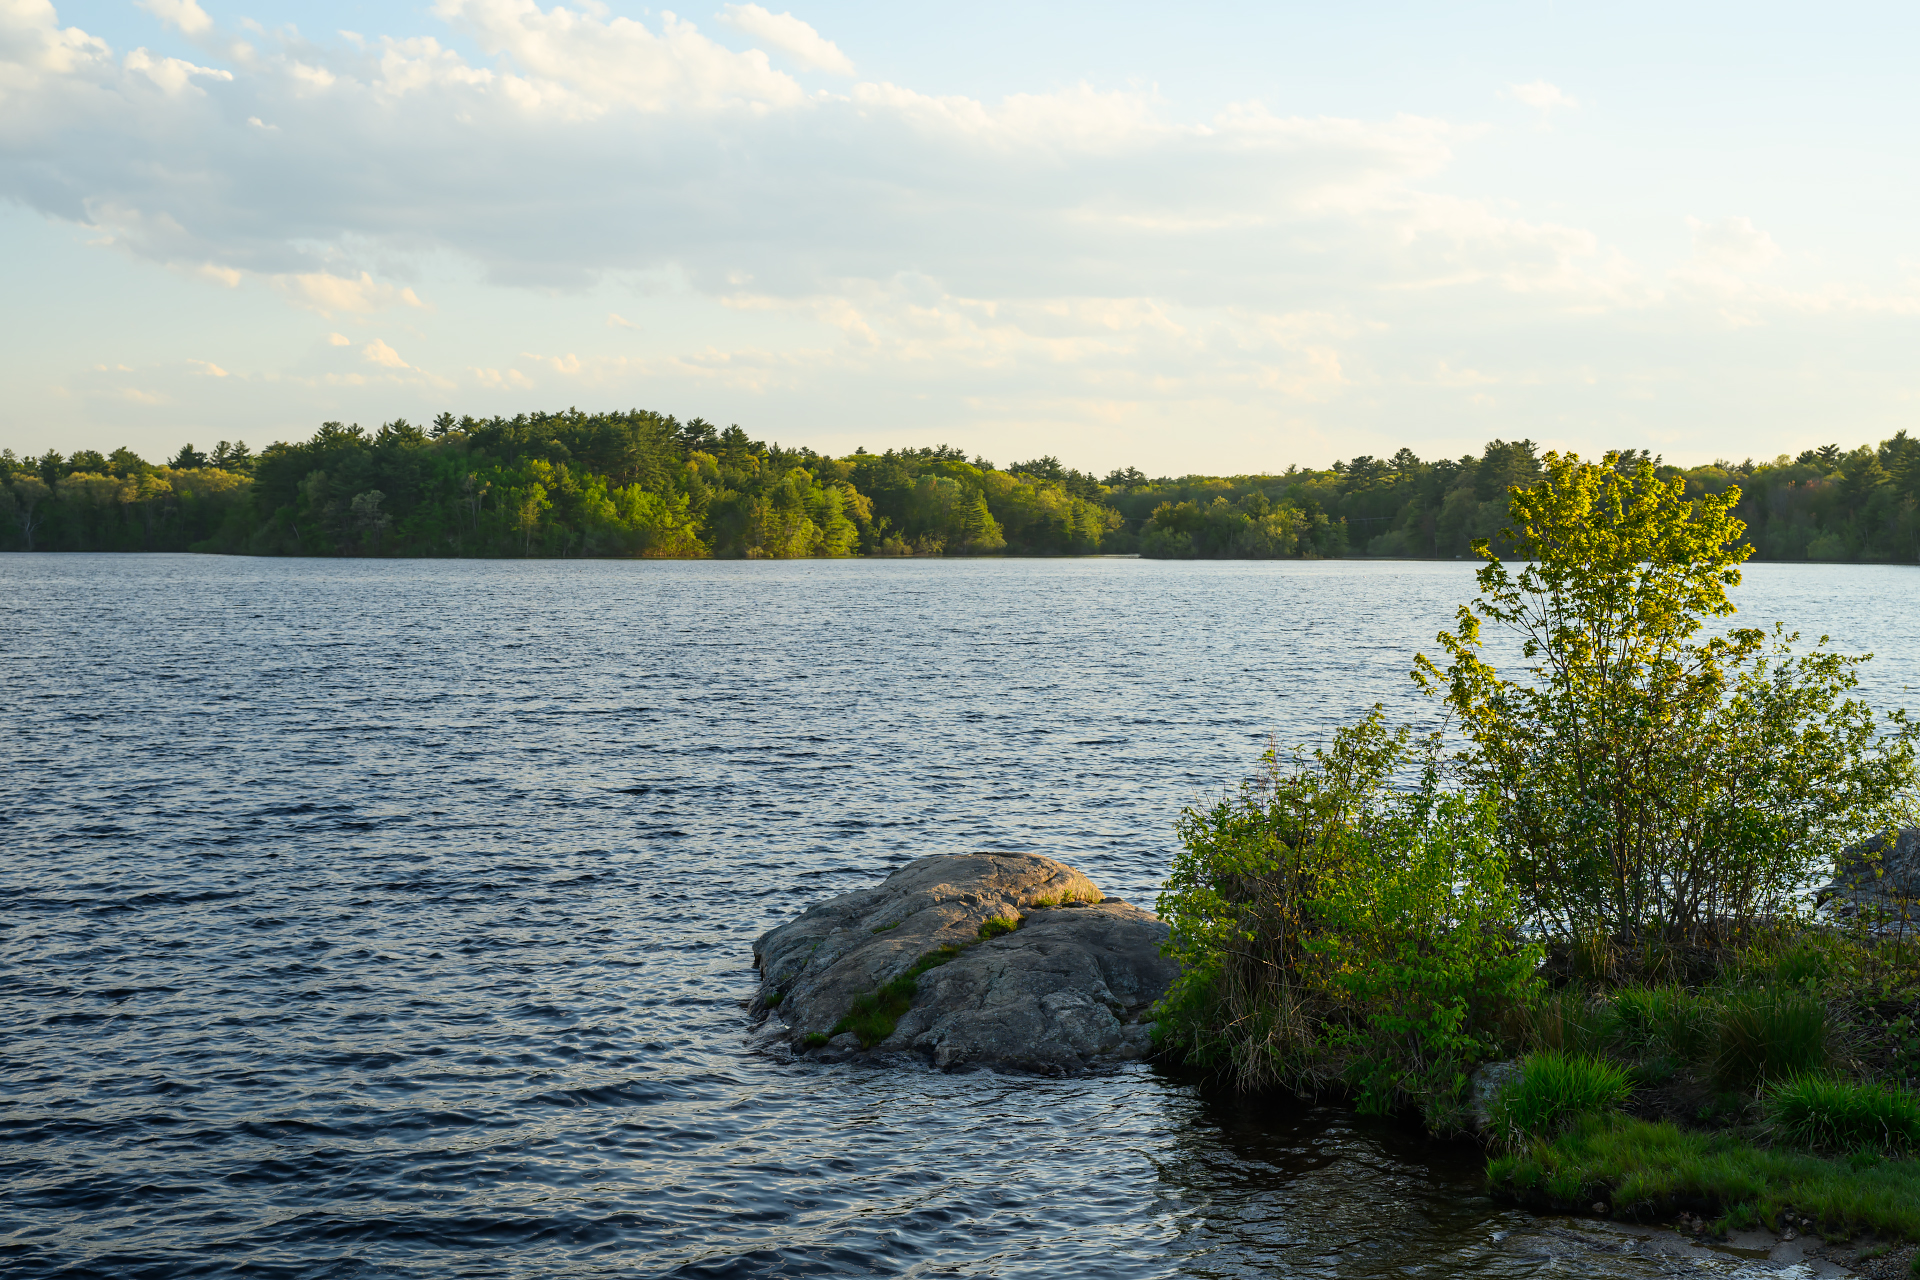
Aaron River Reservoir sits on the eastern edge of Wompatuck State Park, accessible off Beechwood Street in Cohasset, and it doesn’t get nearly the attention… Read mor
-
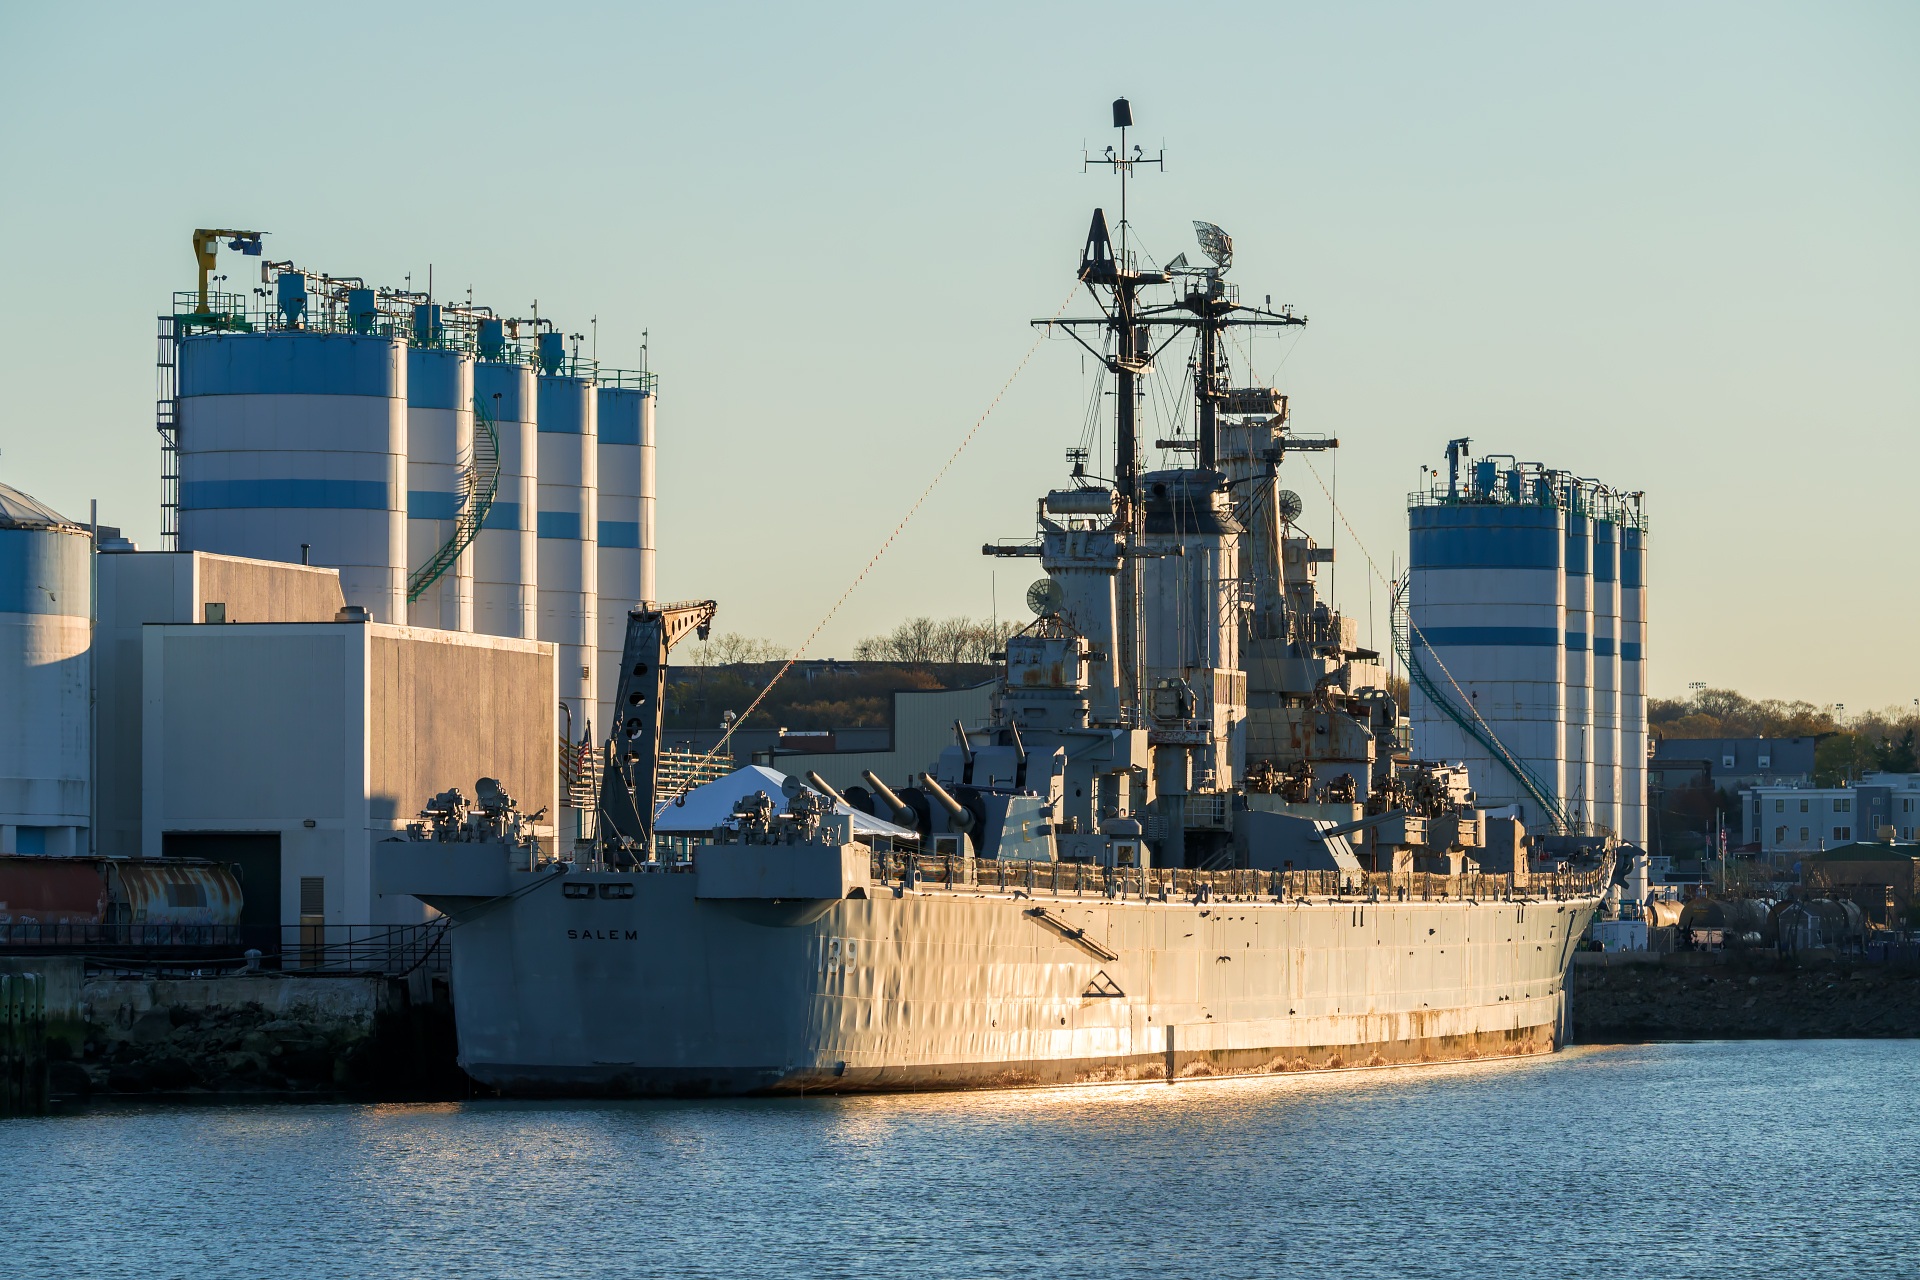
The USS Salem (CA-139), a retired heavy cruiser, rests proudly at the Quincy Shipyard in Massachusetts. This historic vessel, once a formidable presence in the… Read mor
-
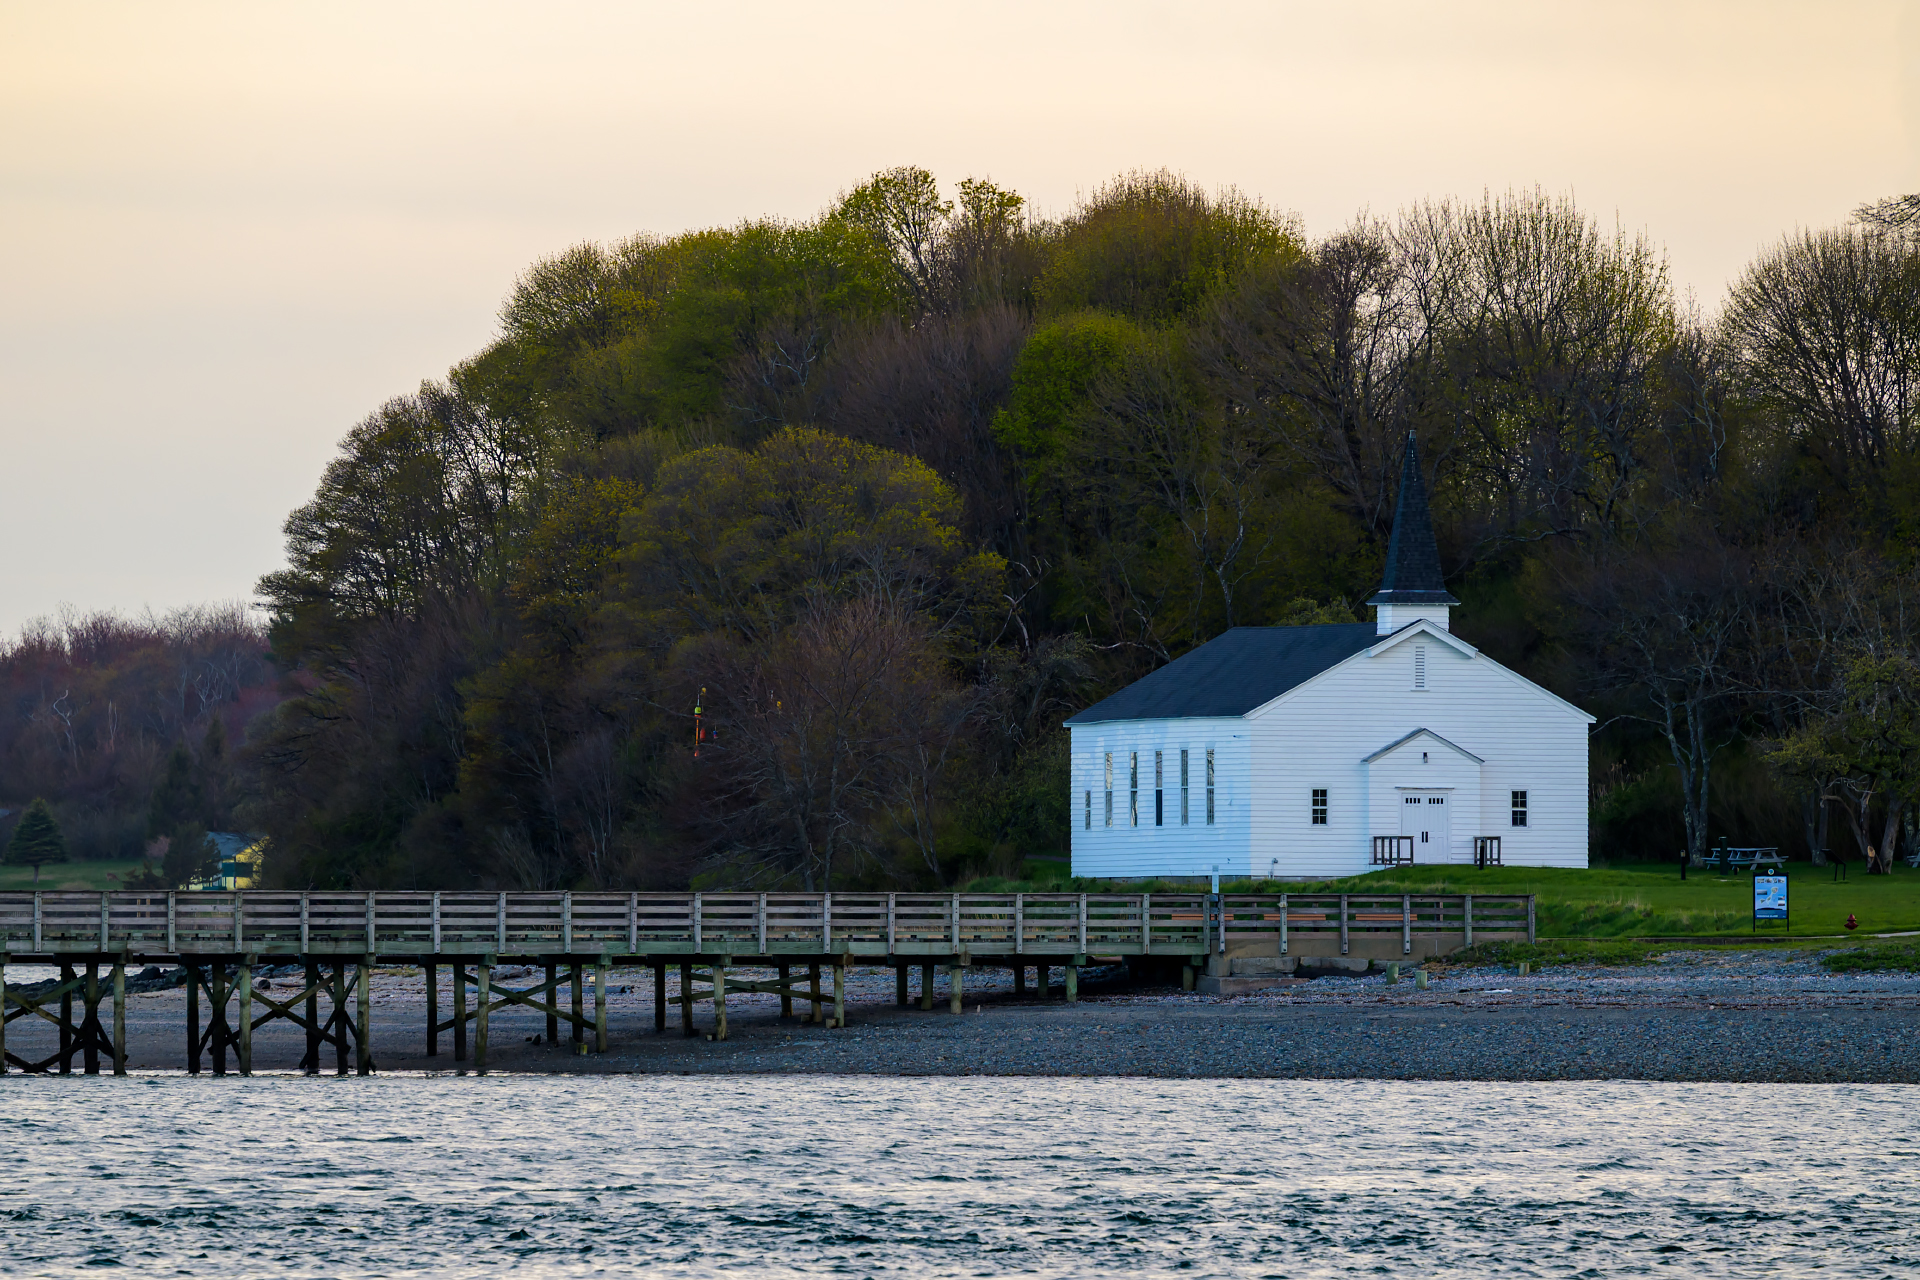
I made the trip to Pemberton Point with one thing in mind — Peddocks Island Chapel. The light was perfect. Built in 1941 as a… Read mor
-
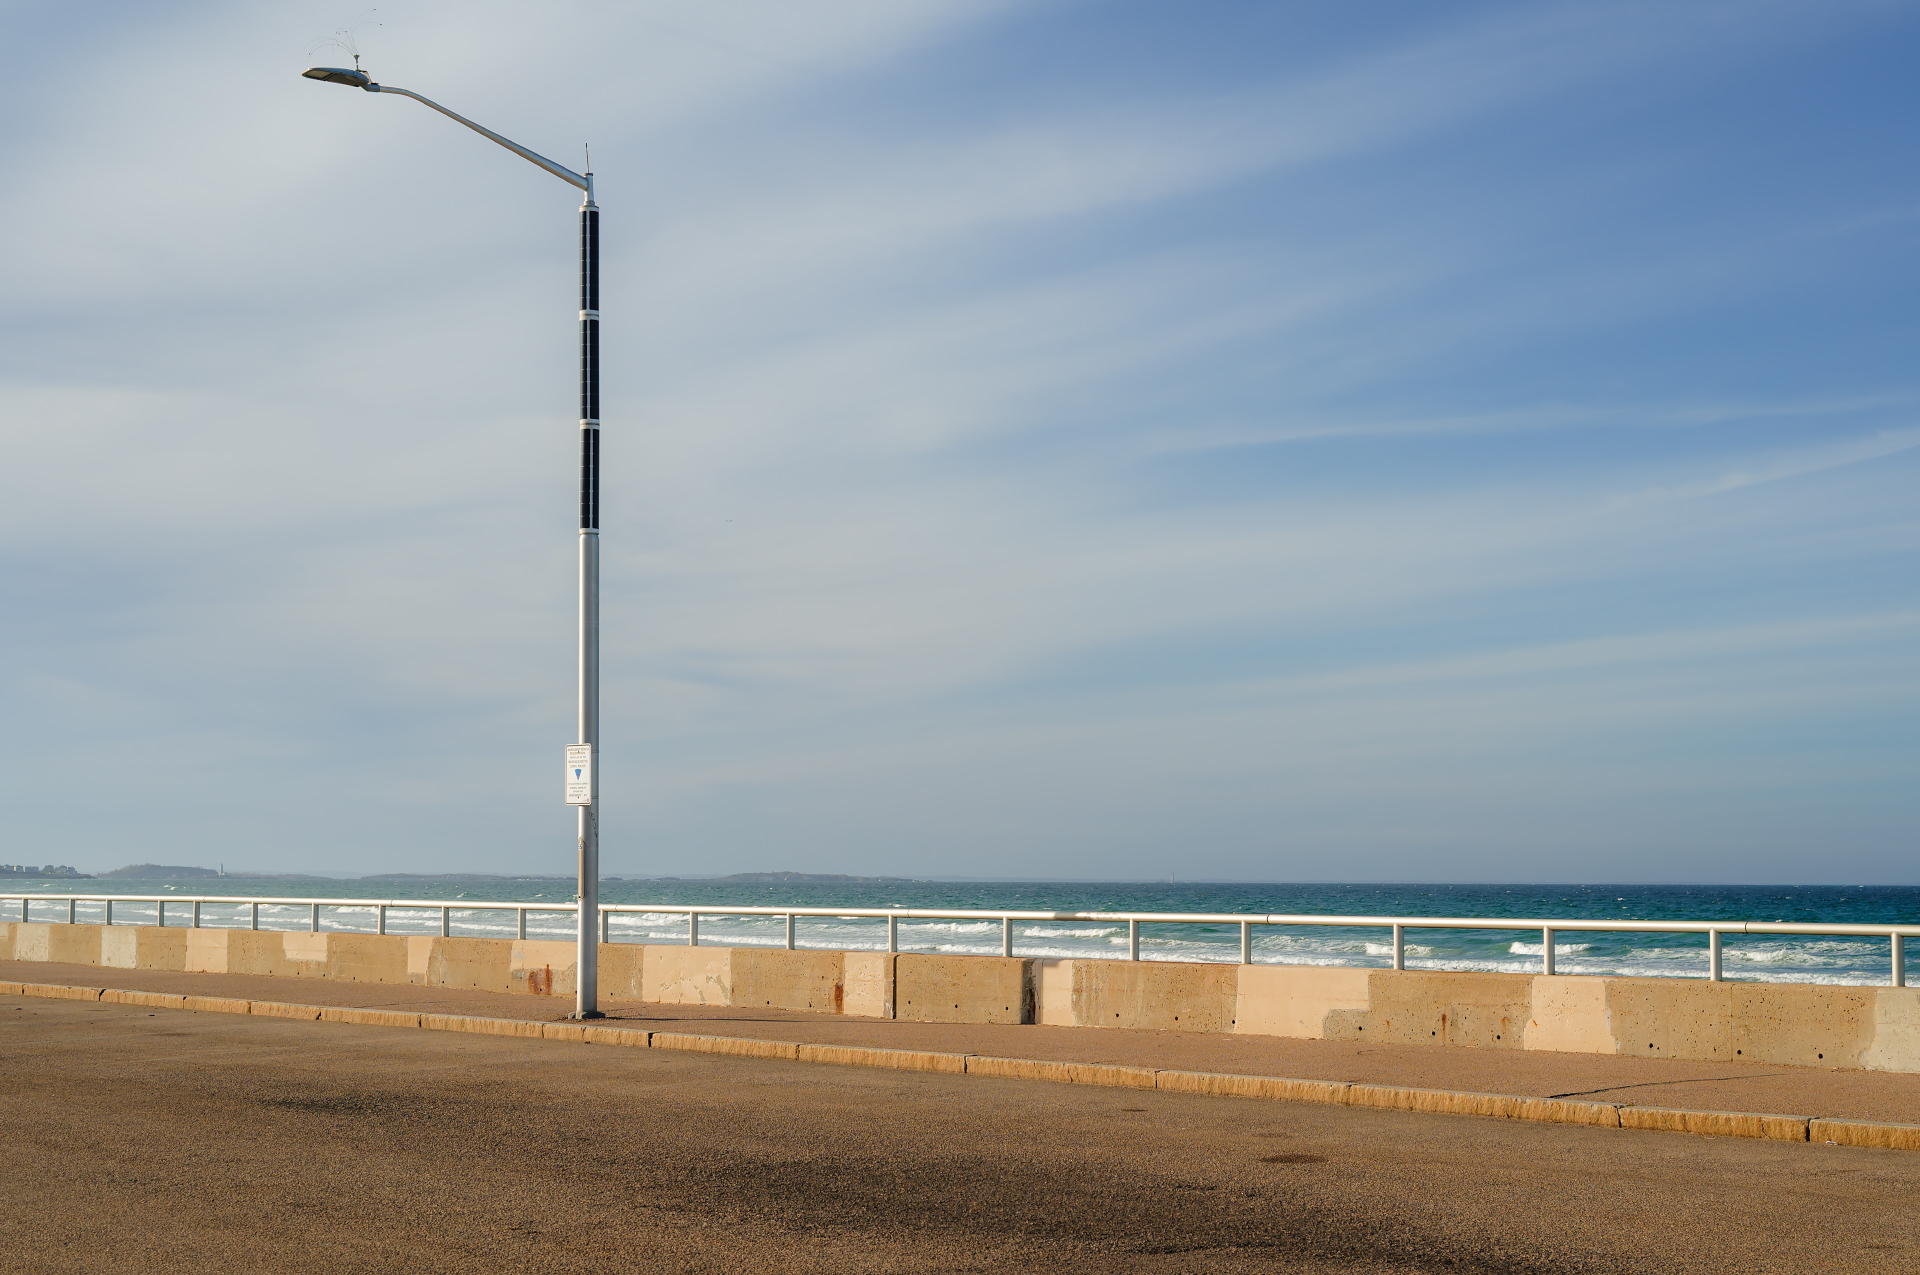
A few frames from the following afternoon at Nantasket Beach in Hull, along a different stretch of coastline. The light is never quite the same… Read mor
-
On April 27, 2026, the weather was everything spring should be on the South Shore—mild air, a light coastal breeze, and perfectly clear skies. I… Read mor
-
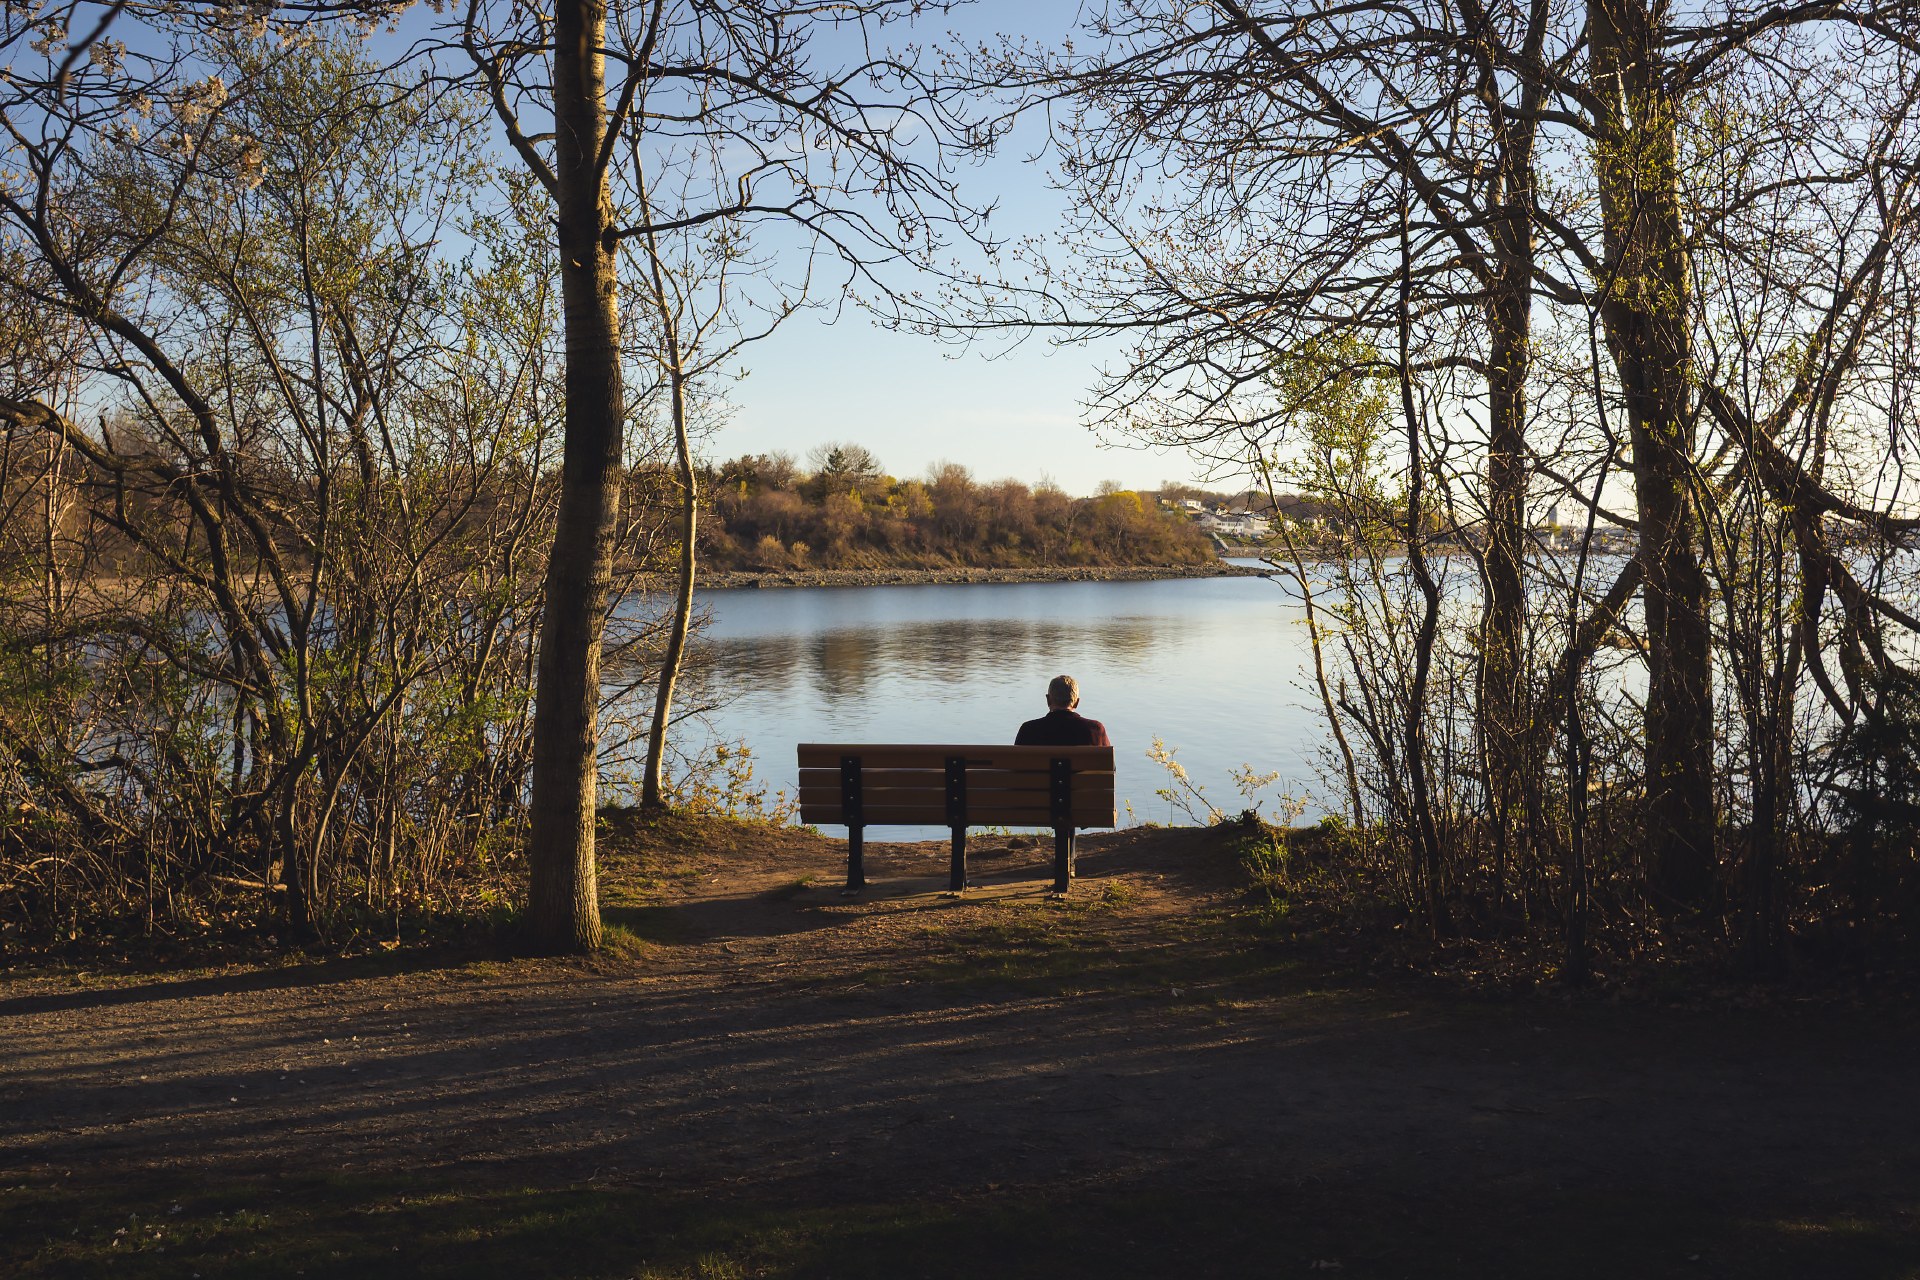
Every person has a story, and I couldn’t help but wonder about the untold chapters belonging to this man as he sat perfectly still overlooking the water. Webb… Read mor
-
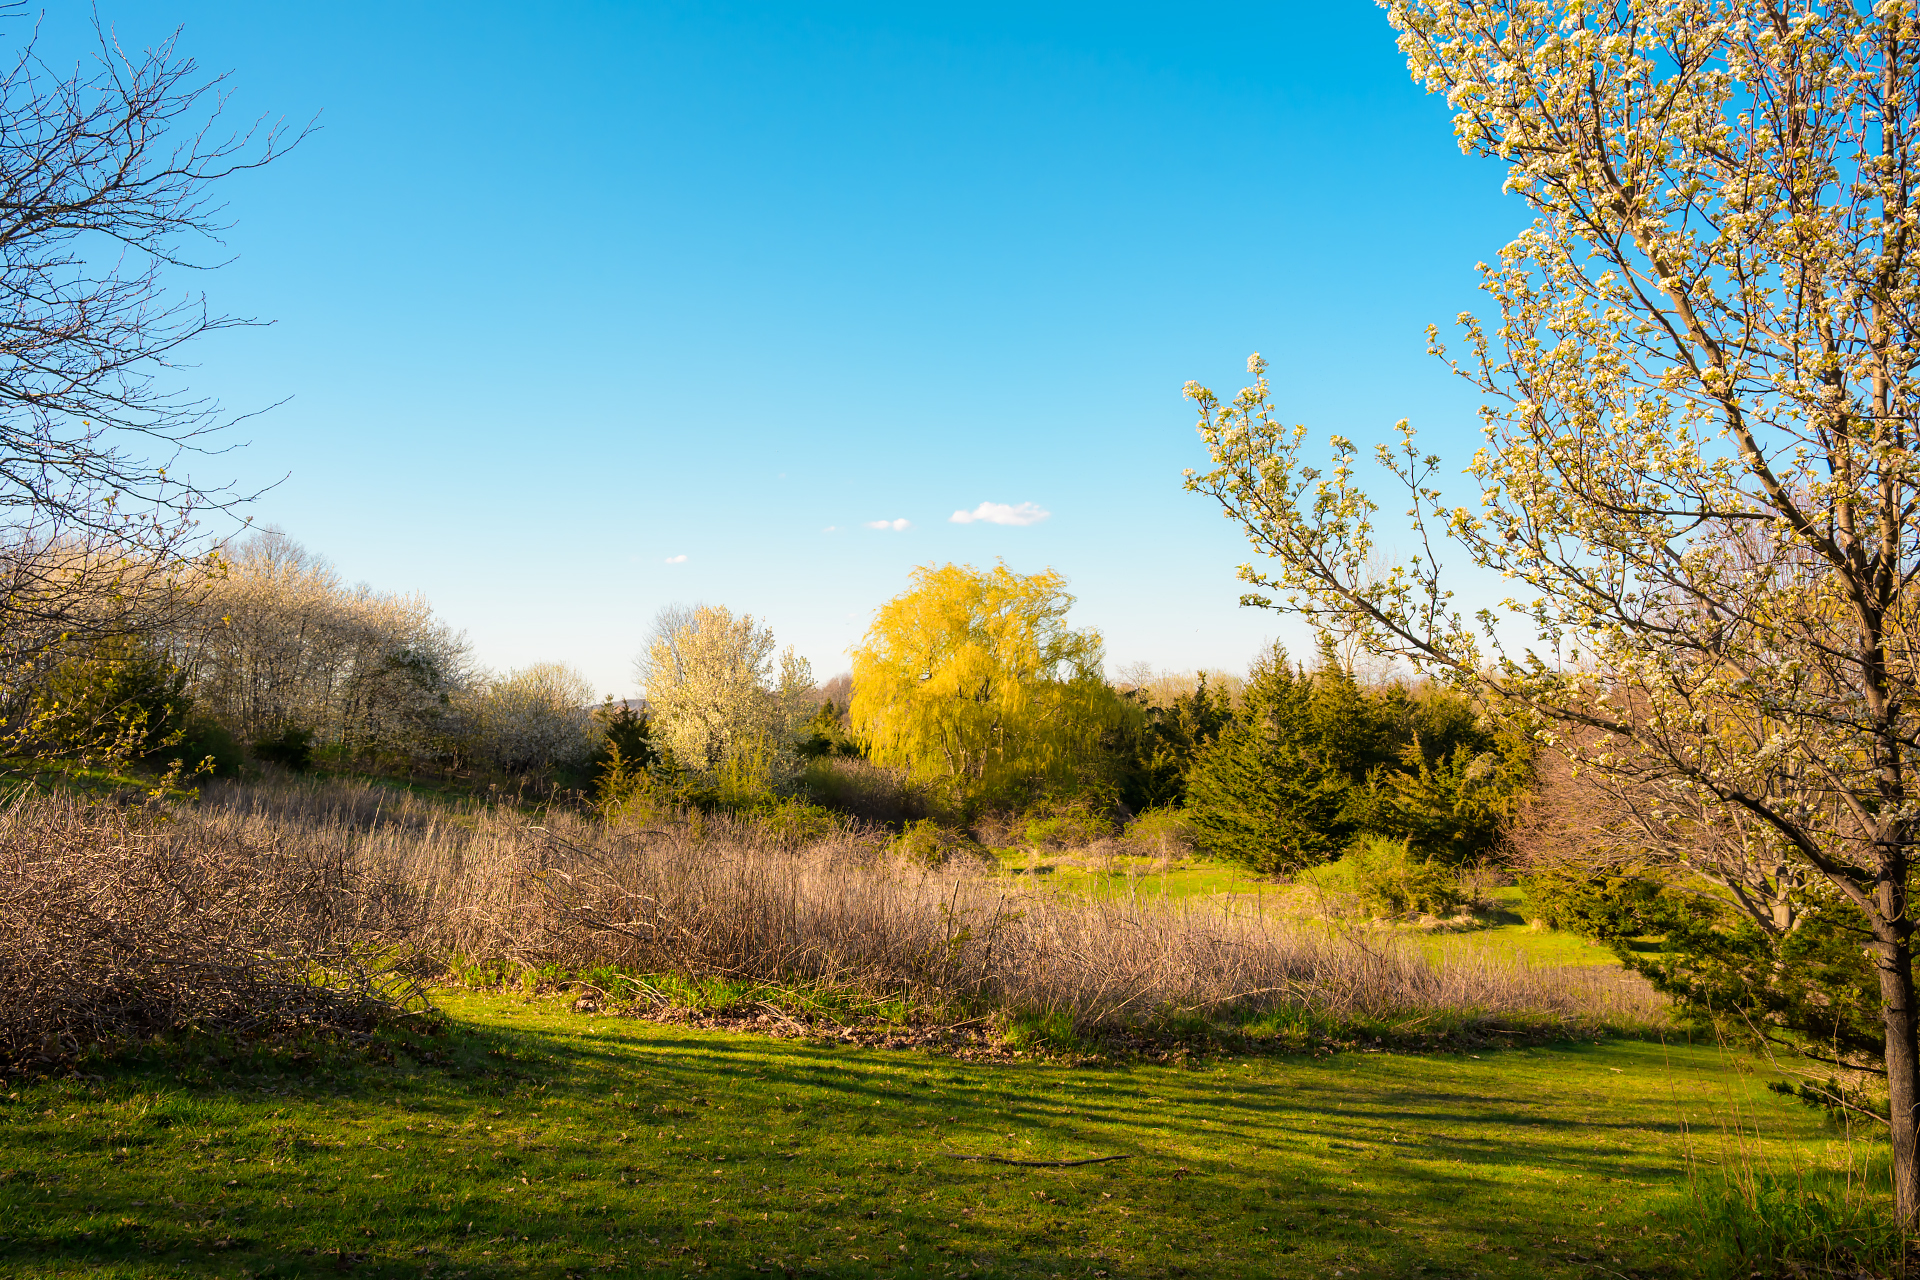
A few frames from a recent walk at Webb Memorial State Park in Weymouth. Early signs of spring are starting to come through, bringing some… Read mor
-

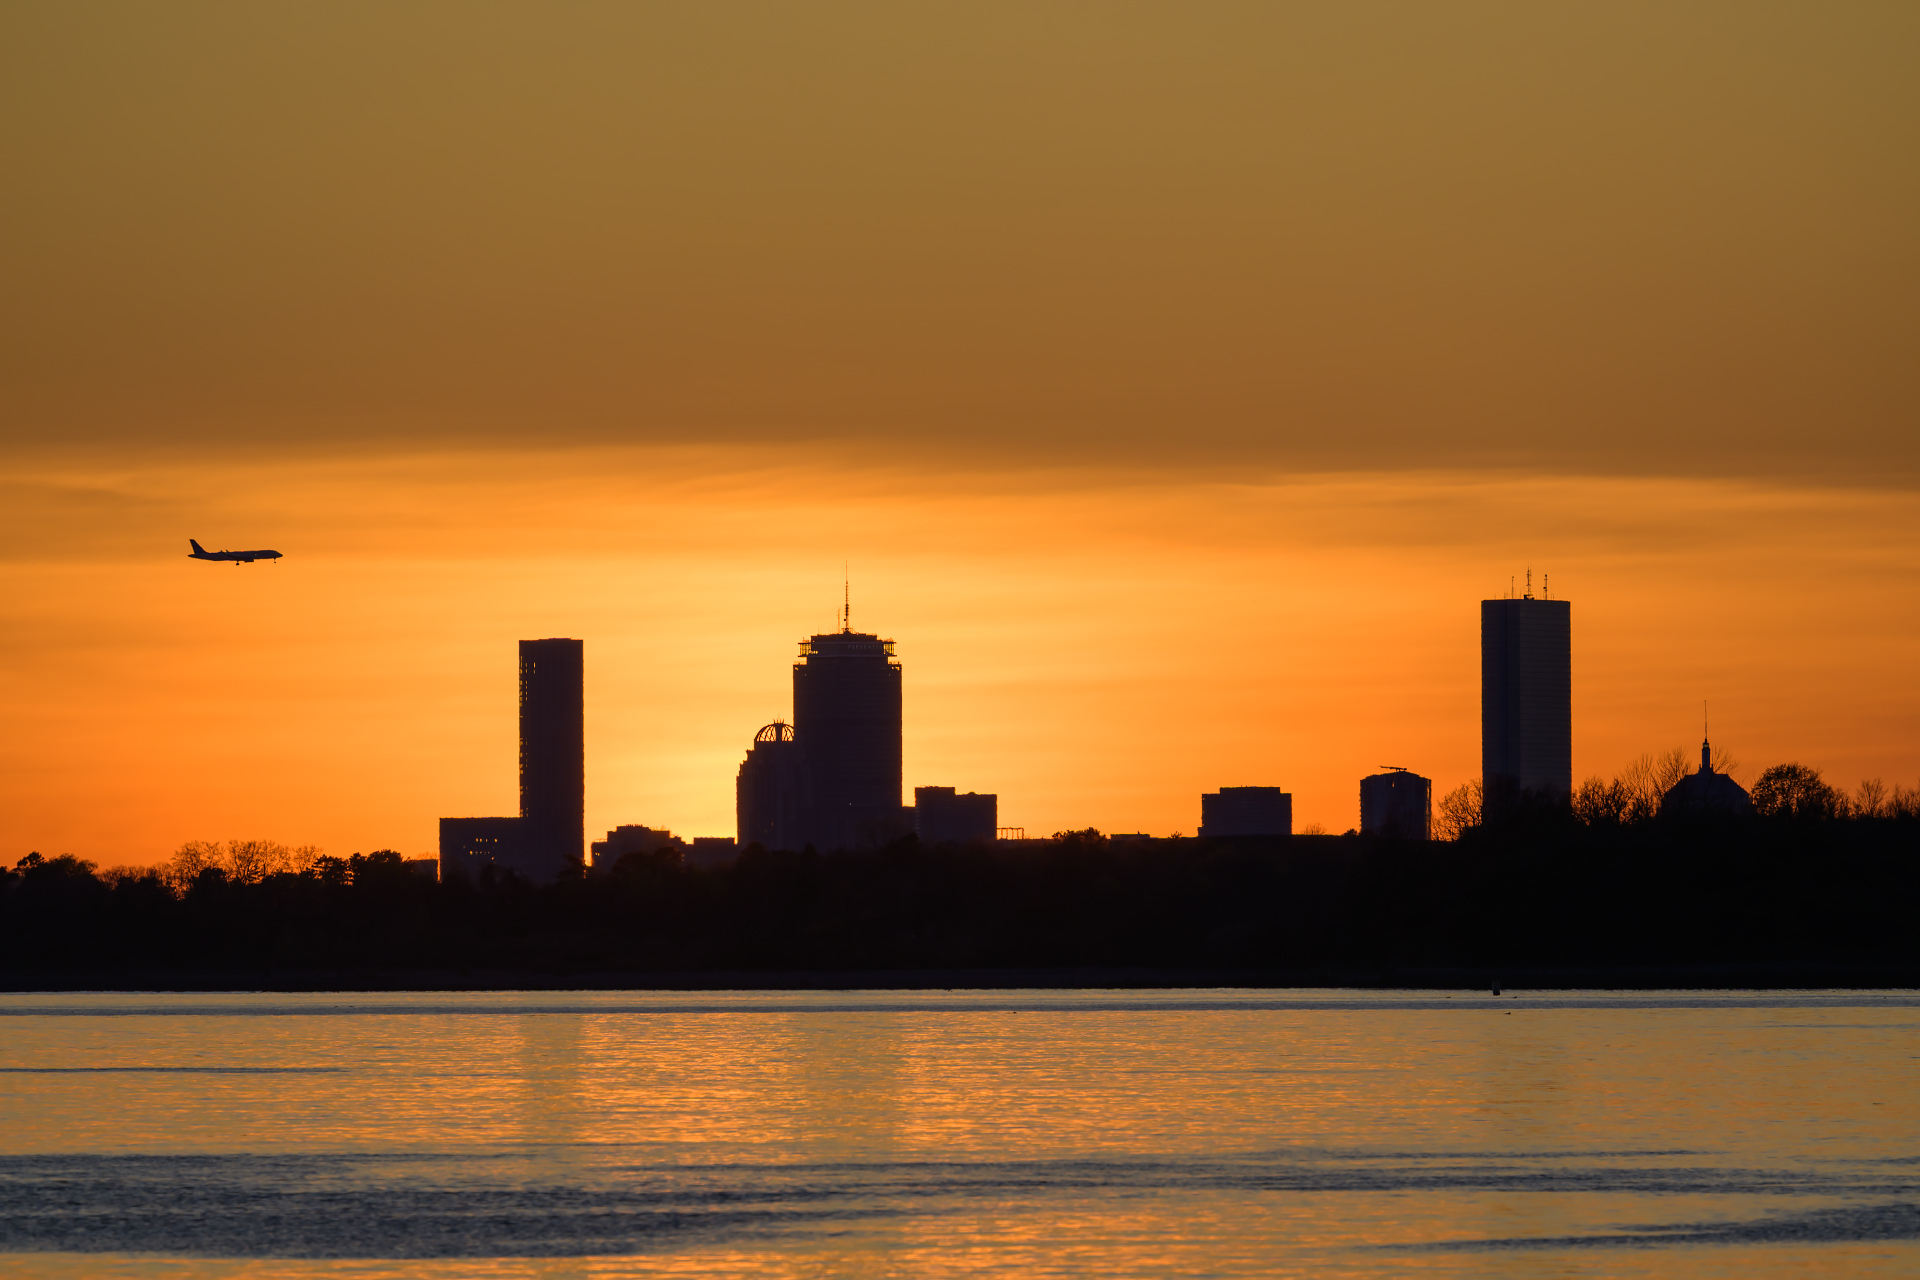
I was eager to get out for another sunrise walk, and the Longfellow Bridge turned out to be the right place to spend my Saturday… Read mor
-
Just a few frames during a sunset walk through Bare Cove Park in Weymouth. Between the cold air and constant wind, I didn’t linger for… Read mor
-
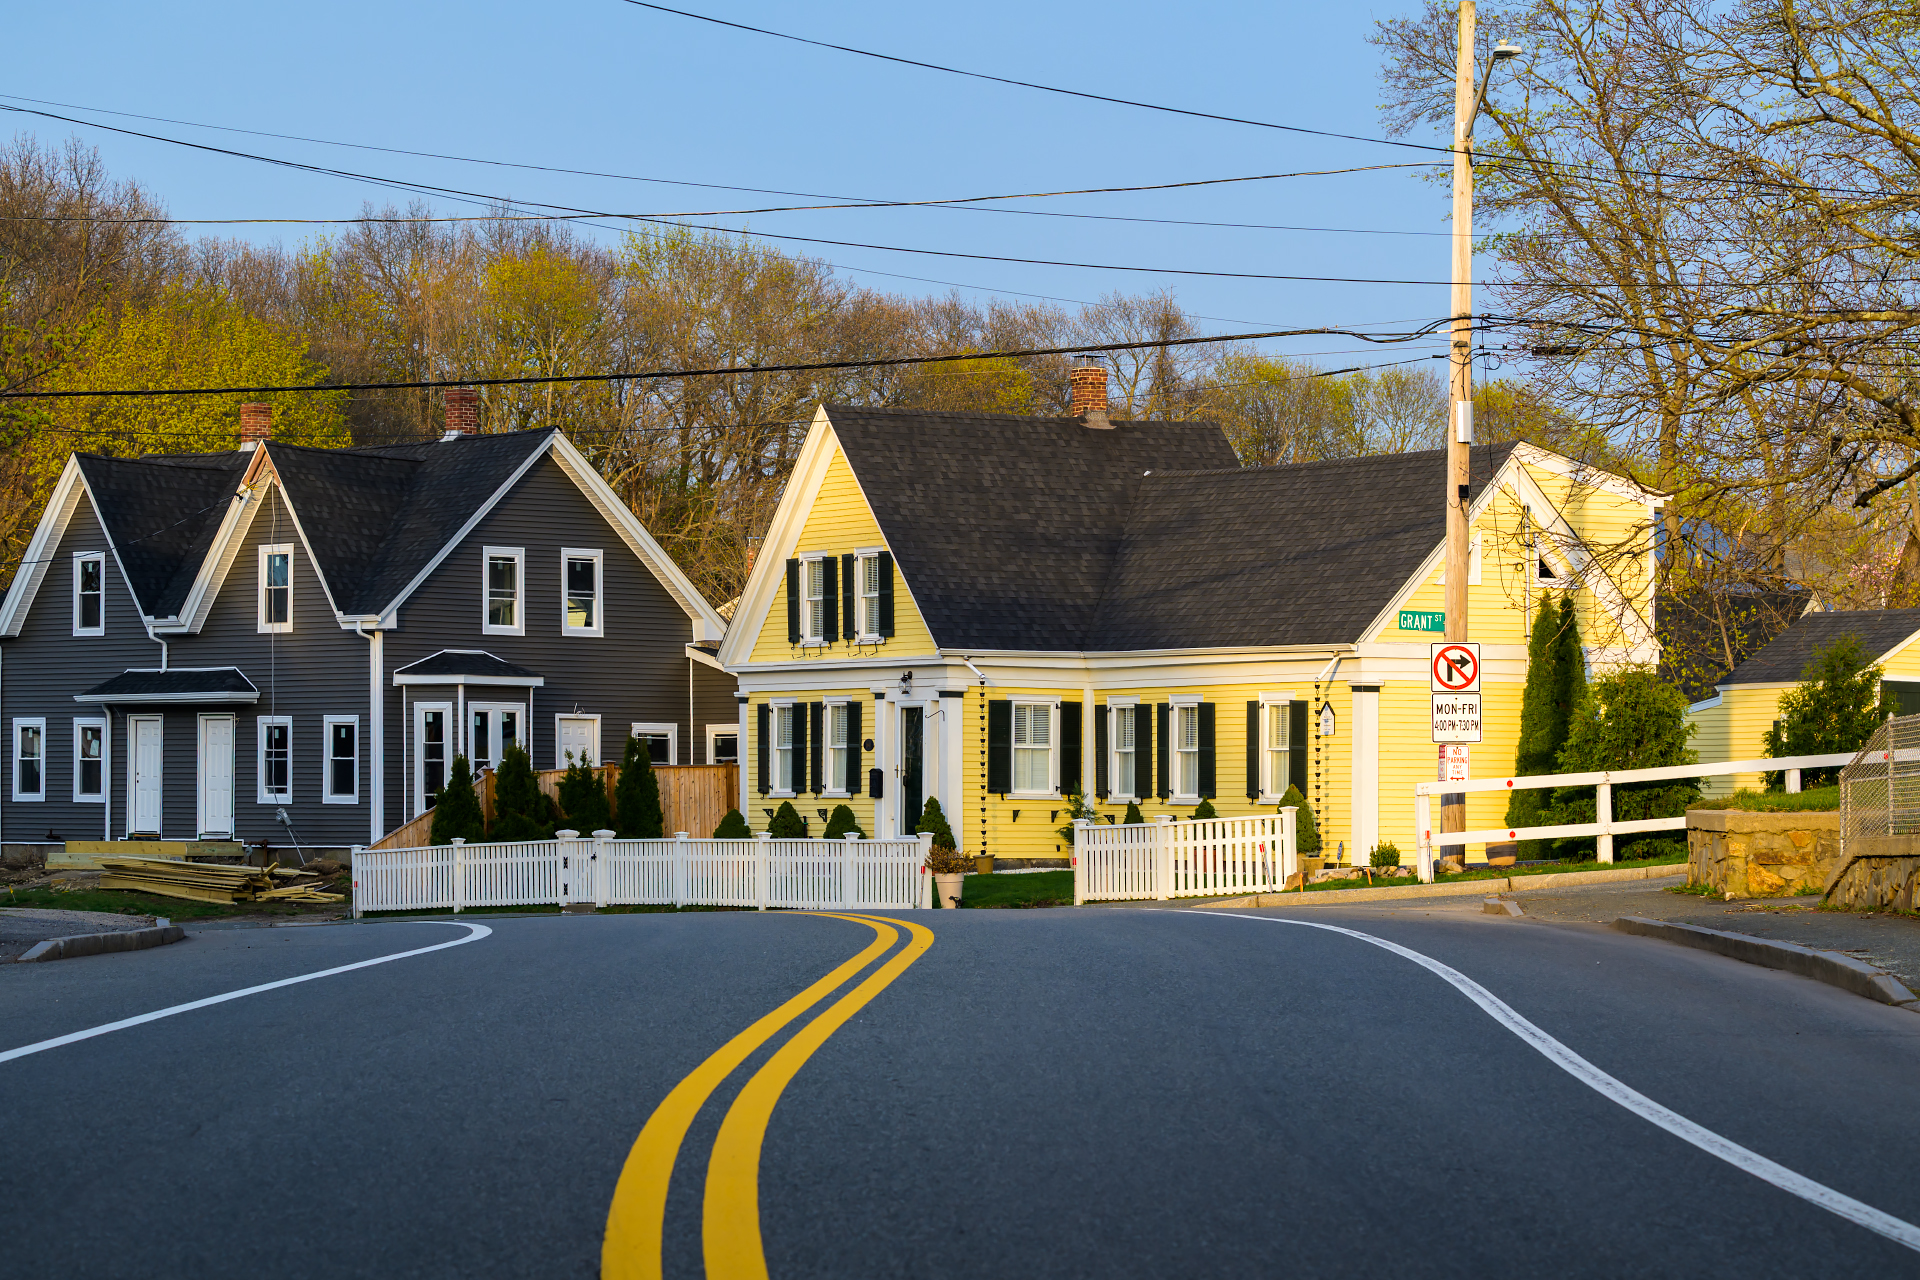
I was making my way through Weymouth the other afternoon and spotted this yellow house on the corner of Grant Street. The golden light was… Read mor
-
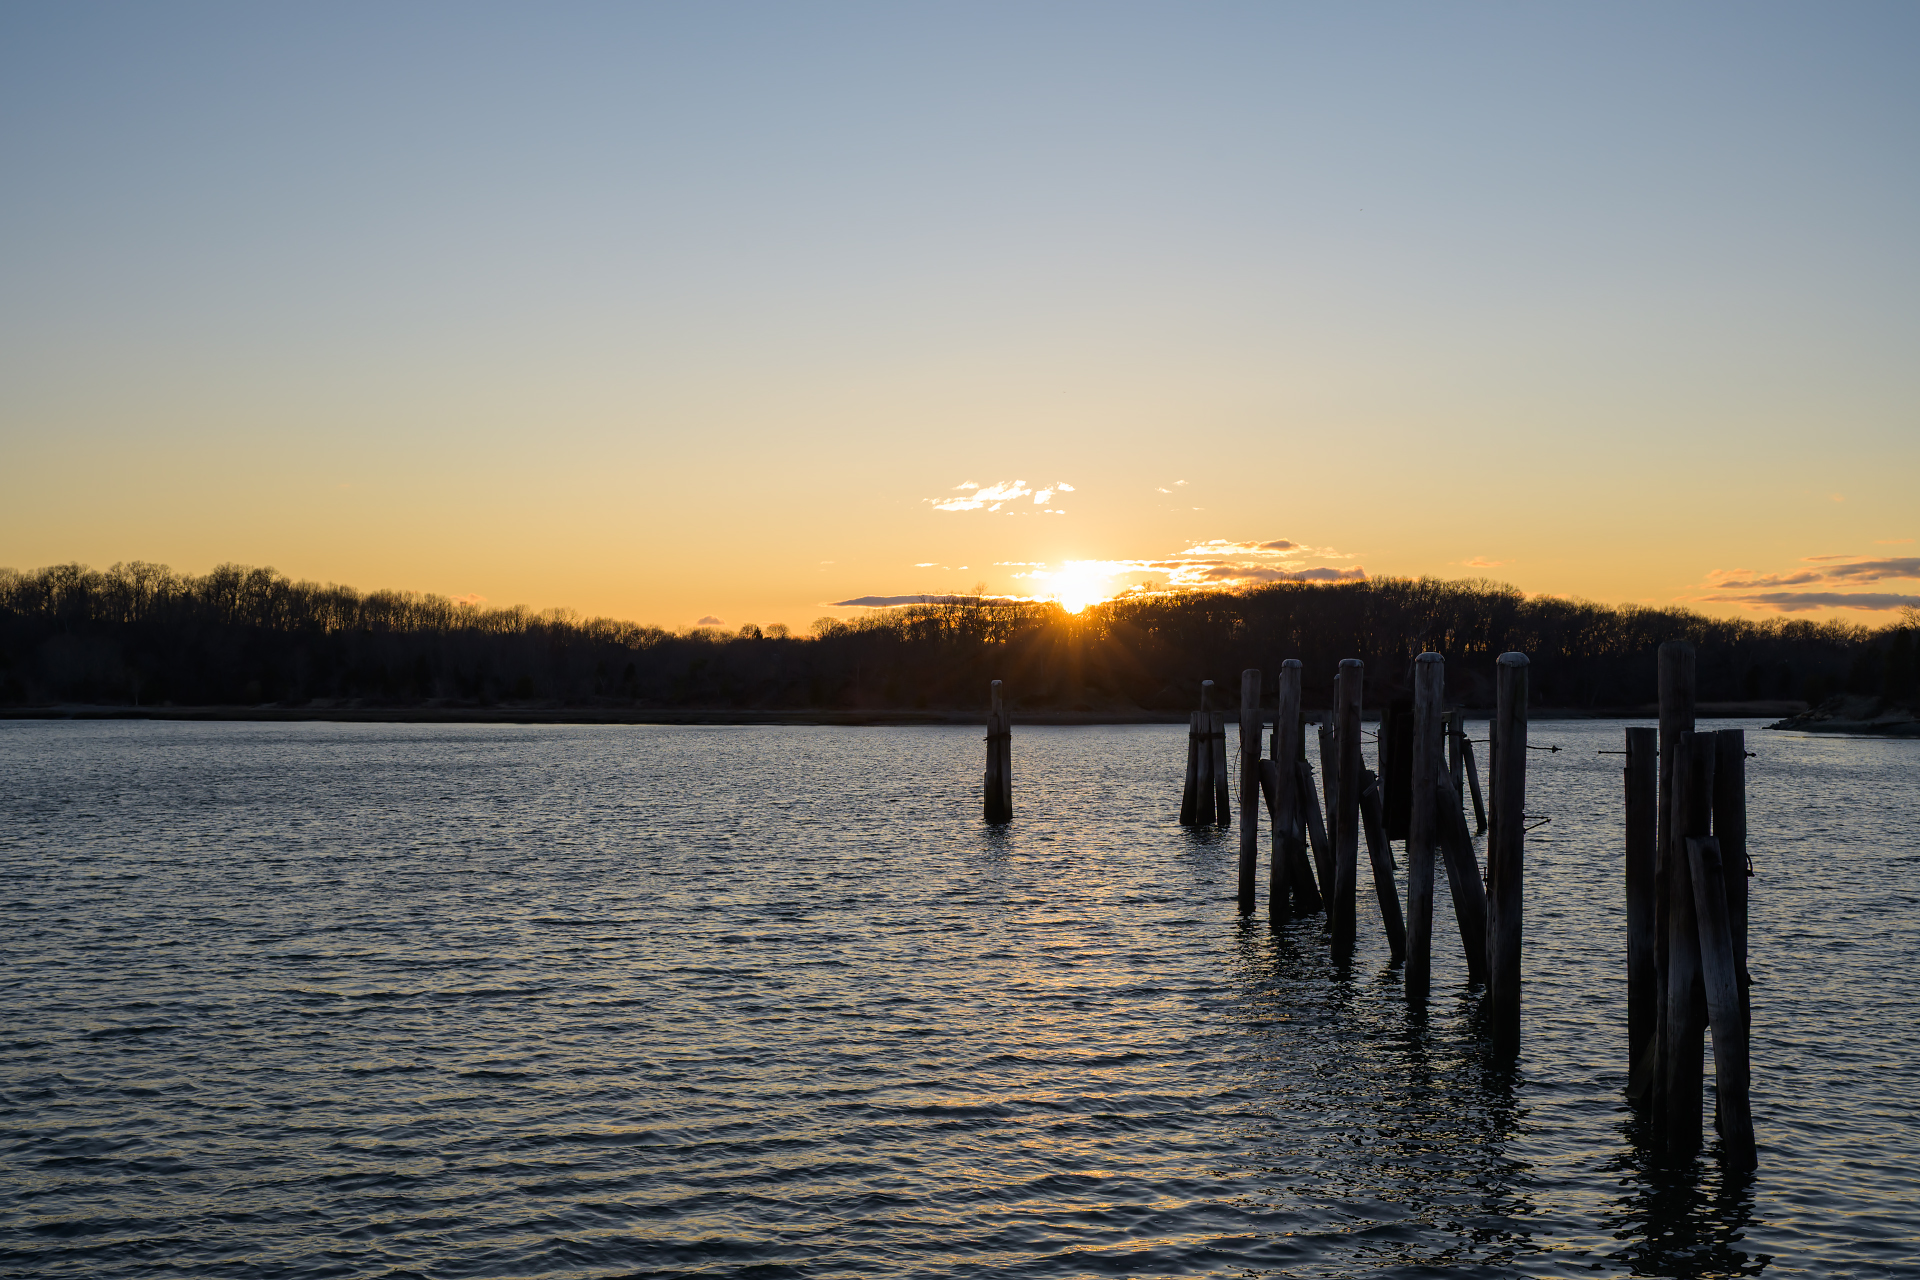
Busy with work lately, so I’m a bit behind on posting, but I’m back with another entry in the Along the Way series. This time,… Read mor
© 2026 – Legal Stuff